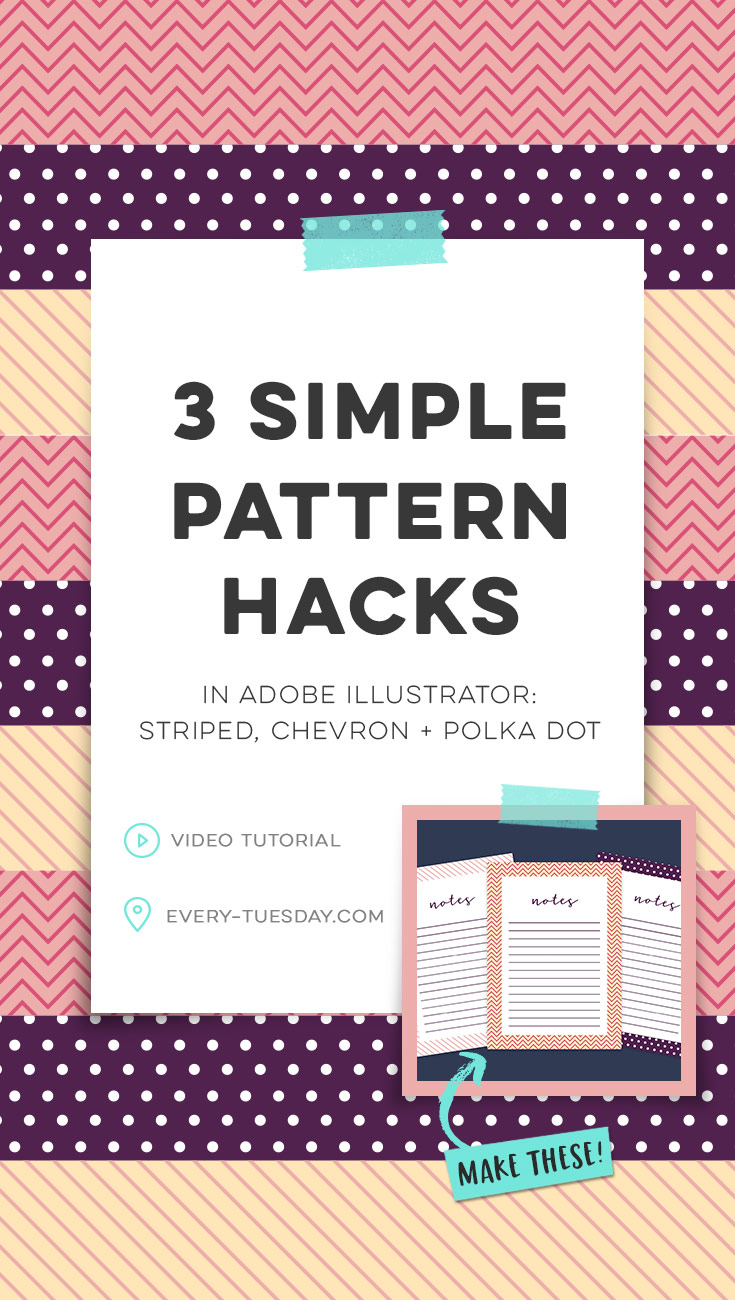
How To Create A Dot Pattern In Illustrator
This week, we're keeping things quick and easy with 3 simple pattern hacks applied to stationery borders in Adobe Illustrator: striped, chevron and polka dot. Borders in stationery design are a great tool to create focus on a message while still adding personality. With simpler projects, a seamless pattern swatch isn't always needed and that's where these pattern hacks come in 😉 Ideas for using these pattern stationery borders could be: shopping lists, memo pads/notepads and greeting cards. In this beginner friendly tutorial, we'll utilize an offset path, the blend tool and stroke palette. See it all below!
Pin it for later!

3 Simple Pattern Hacks in Adobe Illustrator: Striped, Chevron + Polka Dot
Mentioned in this tutorial:
- Espresso Roast font (script)
Colors used (CMYK):
- soft yellow: 0/10/30/0
- light pink: 0/35/20/5
- dark pink: 0/80/25/10
- dark purple: 35/75/0/65

Here's the written version of everything we covered in this tutorial:
- Create a rectangle the size of your artboard. If you plan to print your design, be sure that a 1/8″ bleed is included (.125″) and that the rectangle extends to the red bleed line.
- With your rectangle selected, go object > path > offset path. Input a negative number. Check the 'preview' box to determine the size of the border you'd like to have. Hit ok.
- With both the inside rectangle and outer rectangle selected, go to your pathfinder palette (window > pathfinder) and hit the icon for 'exclude' under 'shape modes'. This will remove the inside rectangle from the outer one. You should now see a border in whichever color your chose for your rectangle.
- Time to create the patterns. For a striped pattern, create an angled line, apply the stroke you'd like and utilize the blend tool. For a chevron pattern, create a stroked line, go to your appearance palette (window > appearance) toggle down the 'fx' icon and choose distort & transform > zig zag. Adjust the zig zag as desired, then use the blend tool to create the pattern. For polka dots, create a stroked line, and in the stroke palette, apply a rounded cap with a dash of '0' and a gap as desired. Increase the stroke weight to increase the dot size. Utilize the blend tool to create the pattern.
- Once you have your pattern, with it selected, right click > arrange > send to back. Place it as desired underneath the border you created earlier. Select the pattern and border, right click > create clipping mask. The pattern will now fill the border. Place your message inside your border, print and done!
Receive special offers on courses + products, a new design file every month plus instant access to the Resource Library!

Pick up over 50 design + lettering files as our gift to you when you join the Tuesday Tribe for free!
error
Congrats!
Please check your email to confirm.
How To Create A Dot Pattern In Illustrator
Source: https://every-tuesday.com/pattern-hacks-adobe-illustrator/
Posted by: kittstuaque.blogspot.com

0 Response to "How To Create A Dot Pattern In Illustrator"
Post a Comment